A Comprehensive Guide To Creating Bootable USB Drives For Windows Server Installations
A Comprehensive Guide to Creating Bootable USB Drives for Windows Server Installations
Related Articles: A Comprehensive Guide to Creating Bootable USB Drives for Windows Server Installations
Introduction
In this auspicious occasion, we are delighted to delve into the intriguing topic related to A Comprehensive Guide to Creating Bootable USB Drives for Windows Server Installations. Let’s weave interesting information and offer fresh perspectives to the readers.
Table of Content
A Comprehensive Guide to Creating Bootable USB Drives for Windows Server Installations
This article delves into the process of creating bootable USB drives for Windows Server installations, focusing on the widely used tool Rufus. It aims to provide a detailed understanding of the process, its importance, and the benefits it offers.
Understanding the Importance of Bootable USB Drives
In the realm of server administration, the ability to install or reinstall operating systems effectively is paramount. Traditional methods, like using CDs or DVDs, have limitations in terms of speed, reliability, and portability. Bootable USB drives have emerged as the preferred solution, offering several advantages:
- Speed and Efficiency: USB drives provide significantly faster data transfer rates compared to optical media, resulting in quicker installation times.
- Portability and Convenience: USB drives are compact, easily transportable, and readily available, making them ideal for on-the-go server installations or troubleshooting.
- Reliability and Durability: USB drives are generally more robust and less susceptible to physical damage than optical media, ensuring data integrity during the installation process.
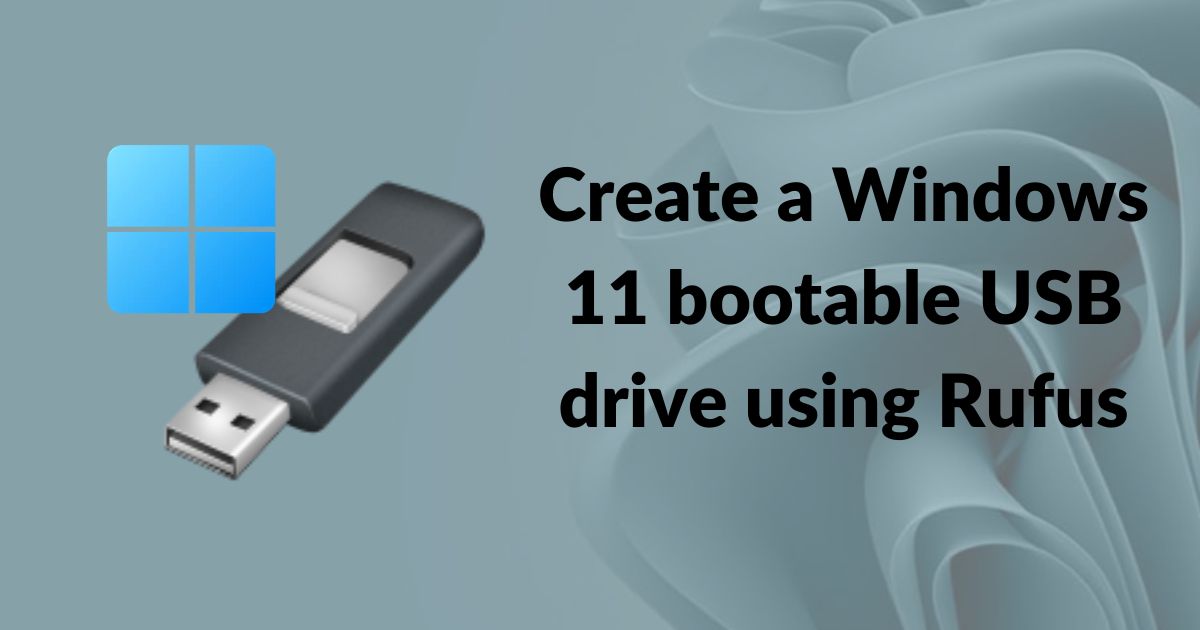
Rufus: A Powerful Tool for Creating Bootable USB Drives
Rufus is a free and open-source utility designed specifically for creating bootable USB drives. It offers a user-friendly interface, a wide range of features, and compatibility with various operating systems, including Windows Server.
Key Features of Rufus:
- ISO Image Support: Rufus supports the creation of bootable drives from ISO images of operating systems like Windows Server.
- Format and Partition Options: It allows for formatting the USB drive with various file systems, including FAT32, NTFS, and exFAT, and offers different partition schemes for optimal compatibility.
- Advanced Options: Rufus provides advanced settings for customizing the boot process, including the ability to create UEFI-compatible drives and select specific boot options.
- Multi-Language Support: Rufus is available in multiple languages, making it accessible to a wider audience.
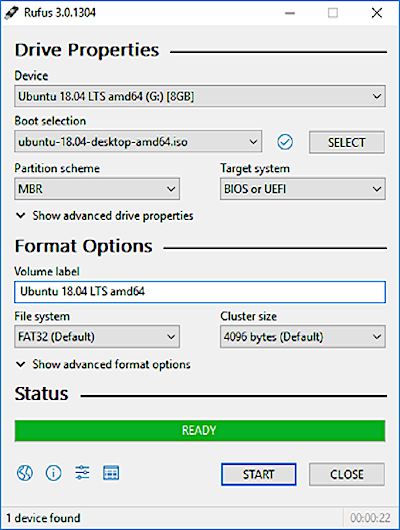
Step-by-Step Guide to Creating a Bootable USB Drive with Rufus
- Download and Install Rufus: Download the latest version of Rufus from its official website and install it on your computer.
- Connect USB Drive: Connect the USB drive to your computer. Ensure it is empty or contains data you are willing to erase as the process will format the drive.
- Launch Rufus: Open Rufus from your start menu or desktop.
- Select Device: Select the connected USB drive from the "Device" dropdown menu.
- Select Boot Selection: Choose "Boot selection" as "ISO Image" and browse to the location of the Windows Server ISO image file on your computer.
- Select Target System: If necessary, select the target system (BIOS or UEFI) based on your server’s configuration.
- Format Options: Choose the desired file system (usually FAT32 or NTFS) and partition scheme (usually MBR or GPT) based on your server’s requirements.
- Advanced Options (Optional): If needed, access the "Advanced Options" to customize boot settings, such as enabling UEFI support or modifying the boot order.
- Start: Click the "Start" button to begin the process. Rufus will format the USB drive and write the ISO image onto it.
- Verification: After the process completes, Rufus will verify the bootability of the USB drive.
Important Considerations:
- Compatibility: Ensure that the Windows Server ISO image is compatible with your server’s hardware and architecture.
- File System and Partition Scheme: Choose the correct file system and partition scheme based on your server’s specifications and requirements.
- UEFI Support: If your server supports UEFI, ensure that the USB drive is created in UEFI mode for optimal compatibility.
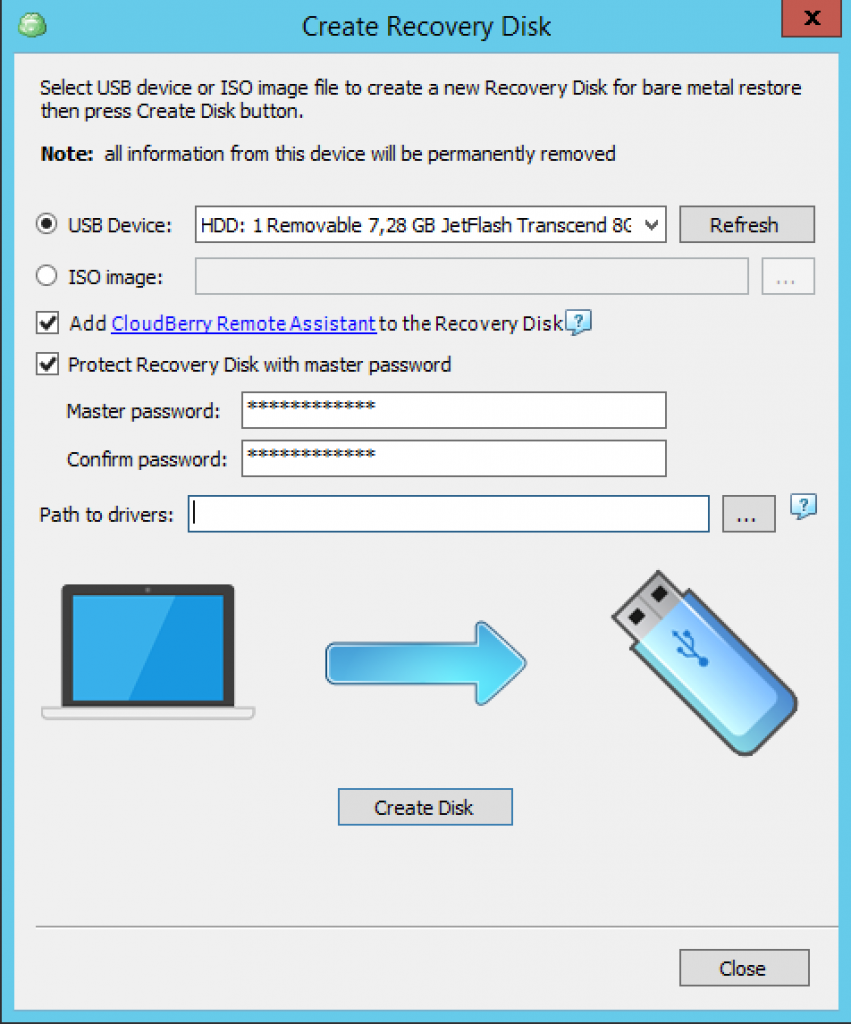
- Data Backup: Always back up important data on the USB drive before formatting it, as the process will erase all existing data.
FAQs
Q: What if my server doesn’t have a USB port?
A: If your server lacks USB ports, you can use alternative methods like using an external USB drive enclosure connected to the server via an available port or using a bootable network installation.
Q: What if the USB drive is not recognized by Rufus?
A: If the USB drive is not detected by Rufus, ensure it is properly connected, try using a different USB port, and check if the drive is faulty.
Q: Can I create a bootable USB drive for multiple operating systems?
A: While Rufus can create a bootable USB drive for a single operating system, it doesn’t natively support multiboot configurations. You can use other tools like YUMI or MultiBootUSB for creating multiboot USB drives.
Tips for Creating a Bootable USB Drive with Rufus
- Use a high-quality USB drive: A reliable USB drive ensures data integrity during the installation process.
- Check for updates: Regularly update Rufus to benefit from the latest features and bug fixes.
- Verify the bootability: After creating the bootable USB drive, test its functionality on a separate computer or virtual machine before attempting installation on your server.
- Read the Rufus documentation: Refer to the official Rufus documentation for detailed information and troubleshooting tips.
Conclusion
Rufus is a valuable tool for administrators seeking to create bootable USB drives for Windows Server installations. Its user-friendly interface, comprehensive features, and compatibility with various operating systems make it an efficient and reliable solution. By following the steps outlined in this guide, administrators can create bootable USB drives for installing or reinstalling Windows Server on their servers, ensuring a smooth and efficient process.


Closure
Thus, we hope this article has provided valuable insights into A Comprehensive Guide to Creating Bootable USB Drives for Windows Server Installations. We thank you for taking the time to read this article. See you in our next article!