A Comprehensive Guide To Installing Windows Server Via USB
A Comprehensive Guide to Installing Windows Server via USB
Related Articles: A Comprehensive Guide to Installing Windows Server via USB
Introduction
With enthusiasm, let’s navigate through the intriguing topic related to A Comprehensive Guide to Installing Windows Server via USB. Let’s weave interesting information and offer fresh perspectives to the readers.
Table of Content
A Comprehensive Guide to Installing Windows Server via USB

The process of installing Windows Server using a USB drive offers numerous advantages, making it a preferred method for system administrators and IT professionals. This guide provides a detailed walkthrough, addressing key considerations and potential challenges, ensuring a smooth and successful installation.
Understanding the Advantages of USB Installation
Utilizing a USB drive for Windows Server installation offers several benefits compared to traditional methods like DVDs:
- Enhanced Portability: USB drives are compact and readily transportable, allowing for easy movement between different systems and locations. This is particularly useful for installing servers in remote locations or for troubleshooting issues on multiple machines.
- Faster Installation Speeds: USB drives typically offer faster data transfer rates compared to DVDs, resulting in a quicker installation process.
- Increased Reliability: USB drives are generally more robust than DVDs, making them less susceptible to damage and ensuring data integrity during the installation.
- Flexibility and Compatibility: USB drives are compatible with a wide range of systems and can be easily re-used for multiple installations.
Preparing for Installation: Essential Steps
Before embarking on the installation process, several crucial steps need to be taken to ensure a smooth and successful deployment:
- Acquire a Compatible USB Drive: Choose a USB drive with sufficient storage capacity to accommodate the Windows Server installation files. A minimum of 8GB is recommended, although larger drives are preferable for future updates and data storage.
- Download the Windows Server ISO Image: Obtain the official Windows Server ISO image from the Microsoft website. Ensure you download the correct version and edition for your specific needs.
- Create a Bootable USB Drive: Use a reliable tool like Rufus or the Windows USB/DVD Download Tool to create a bootable USB drive from the downloaded ISO image. These tools provide user-friendly interfaces for creating bootable media.
- Configure BIOS Settings: Access the BIOS setup of the target server and adjust the boot order to prioritize the USB drive. This ensures the system boots from the USB drive during the installation process.
- Back Up Existing Data: Always create a backup of any critical data on the target server before initiating the installation process. This safeguards your data in case of any unforeseen issues.
Step-by-Step Installation Process
Once the preparatory steps are complete, follow these steps for a successful Windows Server installation:
- Boot from the USB Drive: Connect the bootable USB drive to the target server and restart the system. The BIOS should automatically detect the USB drive and initiate the boot process.
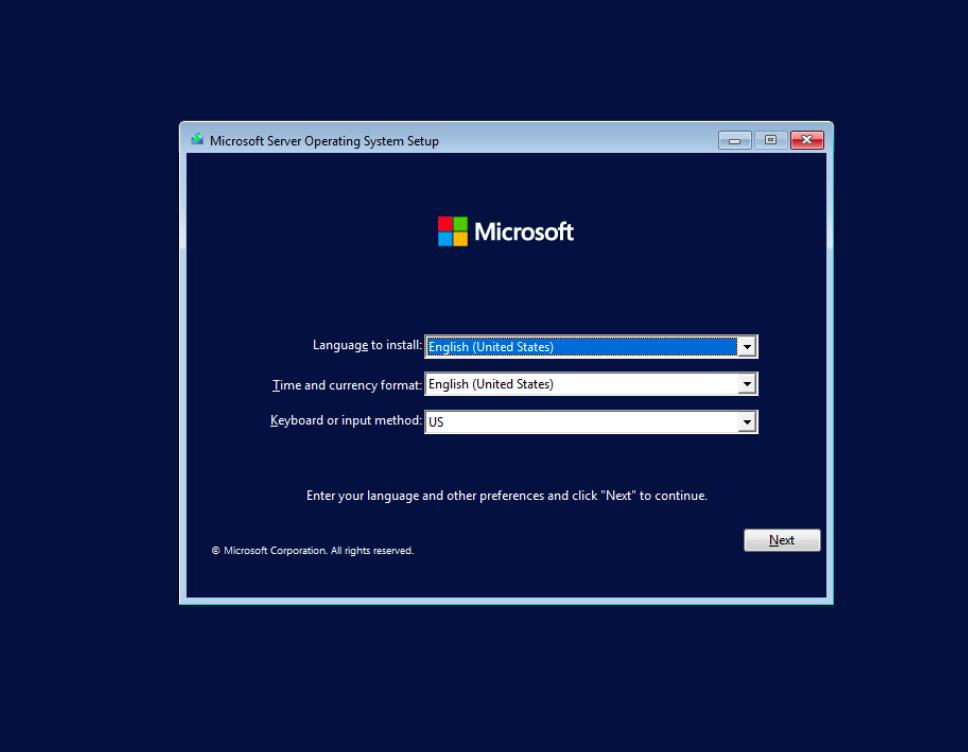
- Select Installation Language and Options: Choose the desired language, keyboard layout, and time zone for the installation.
- Install Now: Click "Install Now" to proceed with the installation process.
- Accept License Terms: Review and accept the Windows Server license terms.
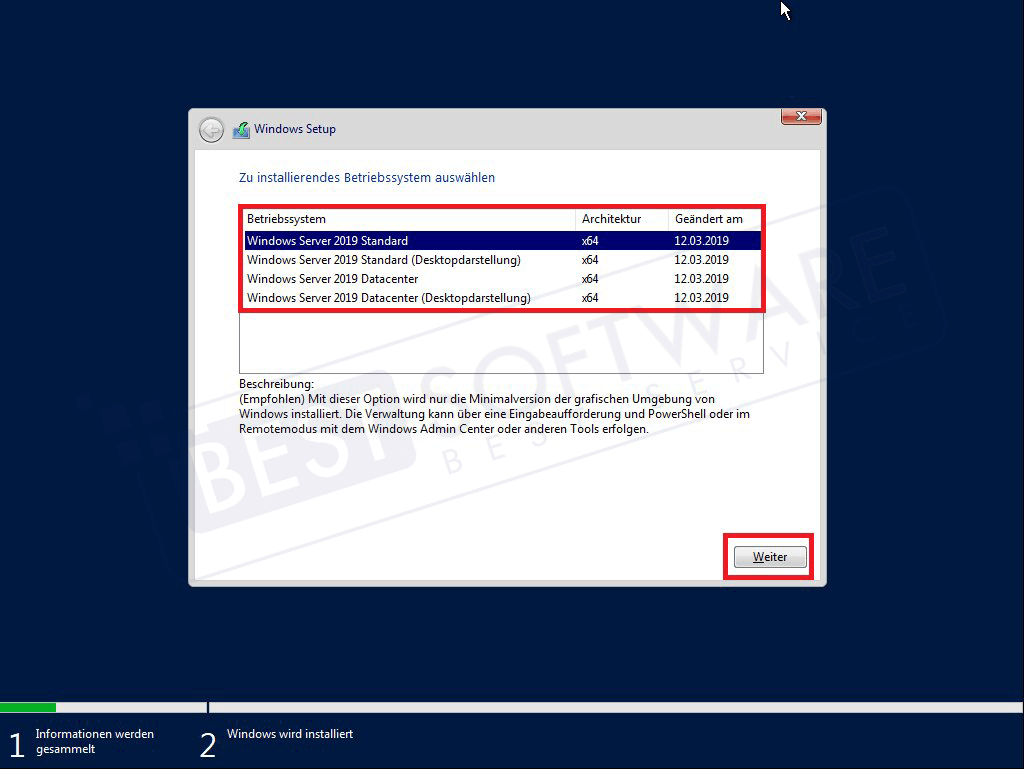
- Choose Installation Type: Select the desired installation type, such as a clean installation or an upgrade.
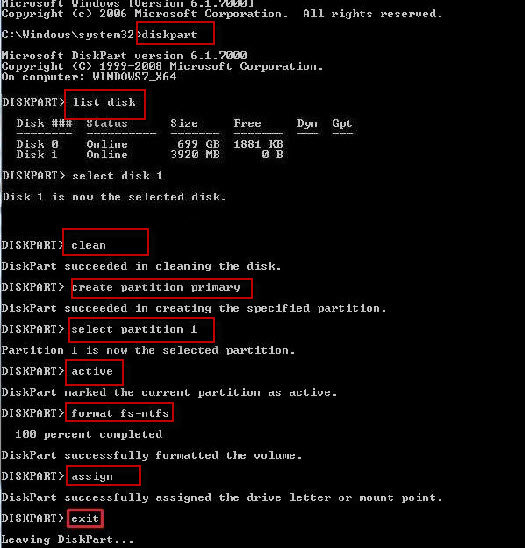
- Partition the Hard Drive: Partition the hard drive according to your requirements, allocating space for the operating system, data storage, and other partitions.
- Format the Drive: Format the chosen partition for the Windows Server installation.
- Install Windows Server: The installation process will start automatically, copying the necessary files and configuring the system.
- Set Administrator Password: Create a strong password for the administrator account.
- Configure Network Settings: Connect the server to the network and configure the necessary settings, including IP address, subnet mask, and gateway.
- Install Updates: Once the installation is complete, install the latest updates and security patches to ensure the system is up-to-date.
Troubleshooting Common Installation Issues
During the installation process, you may encounter certain challenges. Here are some common issues and their possible solutions:
- USB Drive Not Detected: Ensure the USB drive is properly connected to the server and that it is formatted correctly. Check the BIOS settings to ensure the boot order prioritizes the USB drive.
- Installation Fails to Start: Verify the integrity of the ISO image and the bootable USB drive. Try creating a new bootable USB drive using a different tool.
- Error Messages During Installation: Consult the error messages for specific guidance. Refer to Microsoft documentation or community forums for troubleshooting tips.
- Network Connectivity Issues: Verify the network cable connection and ensure the network settings are correctly configured. Check the server’s network adapter drivers.
- Driver Installation Problems: Download and install the necessary drivers for your hardware components from the manufacturer’s website.
Beyond Installation: Essential Post-Installation Tasks
After successfully installing Windows Server, several important tasks need to be performed to ensure optimal functionality and security:
- Install Required Applications: Install the necessary applications and software for your specific server role, such as Active Directory, Hyper-V, or SQL Server.
- Configure Security Settings: Implement strong security measures, including user accounts, passwords, and access control policies.
- Enable Remote Management: Configure remote management tools like Remote Desktop Protocol (RDP) to remotely access and manage the server.
- Implement Backup and Recovery Strategies: Establish a comprehensive backup and disaster recovery plan to protect your data and ensure business continuity.
- Monitor System Performance: Regularly monitor the server’s performance, including CPU utilization, memory usage, and disk space. Address any performance bottlenecks or issues promptly.
FAQs: Addressing Common Questions
Q: What are the minimum system requirements for installing Windows Server?
A: The minimum system requirements vary depending on the specific edition of Windows Server. Refer to the official Microsoft documentation for detailed specifications.
Q: Can I upgrade an existing Windows Server to a newer version using a USB drive?
A: While it is possible to upgrade an existing Windows Server using a USB drive, it is generally recommended to perform a clean installation for a fresh start and optimal performance.
Q: Can I use a USB drive to install Windows Server on a virtual machine?
A: Yes, you can use a bootable USB drive to install Windows Server on a virtual machine, provided the virtualization software supports booting from USB drives.
Q: What are the best practices for creating a bootable USB drive for Windows Server installation?
A: Use reliable tools like Rufus or the Windows USB/DVD Download Tool. Ensure the USB drive is formatted correctly and that the ISO image is verified for integrity.
Q: How do I recover data from a server after a failed installation?
A: If the installation process fails and you have a backup, restore the data from the backup. If no backup is available, you may need to use data recovery software.
Tips for a Successful Installation
- Use a High-Quality USB Drive: Choose a reputable brand and a drive with a high read/write speed for optimal performance.
- Verify the ISO Image: Ensure the downloaded ISO image is genuine and free from corruption.
- Read the Documentation: Refer to the official Microsoft documentation for detailed instructions and troubleshooting tips.
- Test the Bootable USB Drive: Before starting the installation, test the bootable USB drive on another system to ensure it is working correctly.
- Be Patient: The installation process may take some time, depending on the server’s specifications and the size of the installation files.
Conclusion
Installing Windows Server via a USB drive offers a convenient and efficient method for deploying and managing servers. By following the steps outlined in this guide, you can ensure a smooth and successful installation, maximizing the benefits of this powerful operating system. Remember to prioritize security, implement proper backup strategies, and continuously monitor system performance for optimal server health and reliability.


Closure
Thus, we hope this article has provided valuable insights into A Comprehensive Guide to Installing Windows Server via USB. We thank you for taking the time to read this article. See you in our next article!