Creating A Bootable USB Drive For Windows Server: A Comprehensive Guide
Creating a Bootable USB Drive for Windows Server: A Comprehensive Guide
Related Articles: Creating a Bootable USB Drive for Windows Server: A Comprehensive Guide
Introduction
With great pleasure, we will explore the intriguing topic related to Creating a Bootable USB Drive for Windows Server: A Comprehensive Guide. Let’s weave interesting information and offer fresh perspectives to the readers.
Table of Content
Creating a Bootable USB Drive for Windows Server: A Comprehensive Guide
This article provides a detailed guide on creating a bootable USB drive for installing Windows Server, a crucial step for deploying and managing server environments. The process involves preparing a USB drive, downloading the Windows Server installation media, and using a tool to create a bootable drive.
Importance and Benefits of Creating a Bootable USB Drive:
- Flexibility: A bootable USB drive allows for greater flexibility in server installations, as it eliminates the need for physical media like DVDs.
- Portability: The compact size of a USB drive makes it easy to transport and share with other administrators.
- Speed: USB drives generally offer faster boot times compared to traditional methods.
- Convenience: Creating a bootable USB drive is a straightforward process that can be completed with readily available tools.
Steps to Create a Bootable USB Drive for Windows Server:
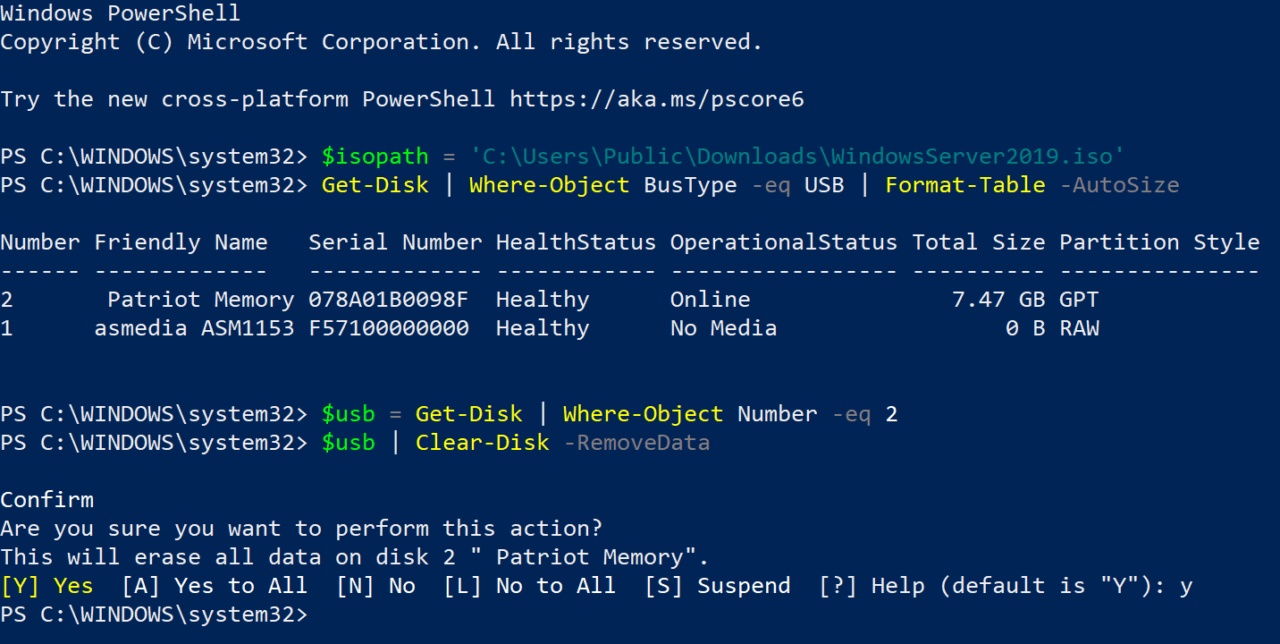
1. Prepare the USB Drive:
- Format the USB Drive: Select the USB drive you want to use and format it to NTFS.
- Ensure Sufficient Space: The required space on the USB drive depends on the Windows Server edition you are installing.
- Backup Important Data: Always back up any data on the USB drive before formatting it, as the formatting process will erase all data.
2. Download the Windows Server Installation Media:
- Visit the Microsoft Website: Navigate to the Microsoft website and locate the Windows Server download page.
- Select the Edition: Choose the specific edition of Windows Server you need to install.
- Download the ISO File: Download the ISO file containing the Windows Server installation media.
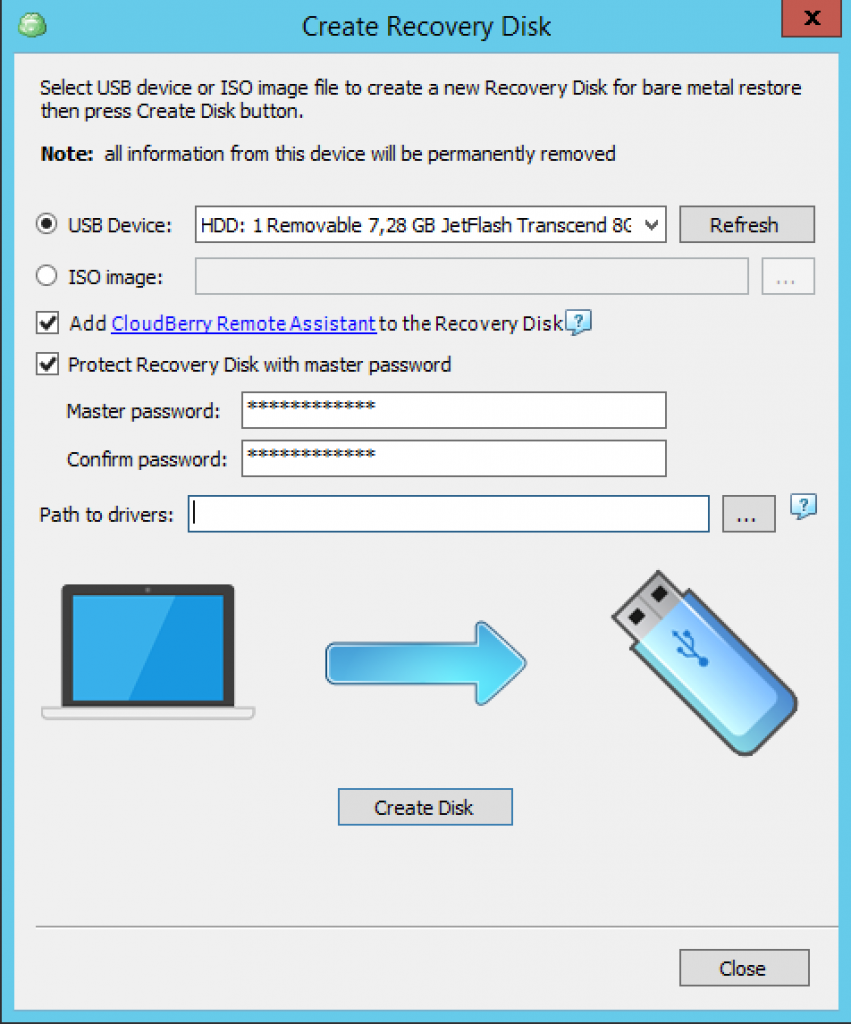
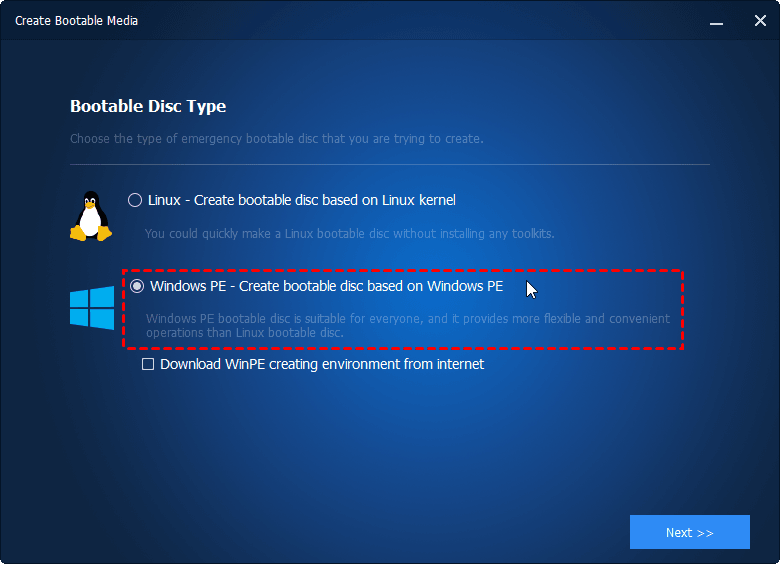
3. Create a Bootable USB Drive:
-
Use a Tool: There are various tools available for creating a bootable USB drive, including:
- Rufus: A popular and free tool that is widely used for creating bootable drives.
- Windows USB/DVD Download Tool: A tool provided by Microsoft for creating bootable drives.
- Other Third-Party Tools: Several other tools are available online, such as Balena Etcher and UNetbootin.
- Select the ISO File: Open the chosen tool and select the downloaded Windows Server ISO file.
- Choose the USB Drive: Select the USB drive you prepared in step 1.
- Start the Process: Start the process of creating the bootable drive. This may take some time depending on the size of the ISO file.
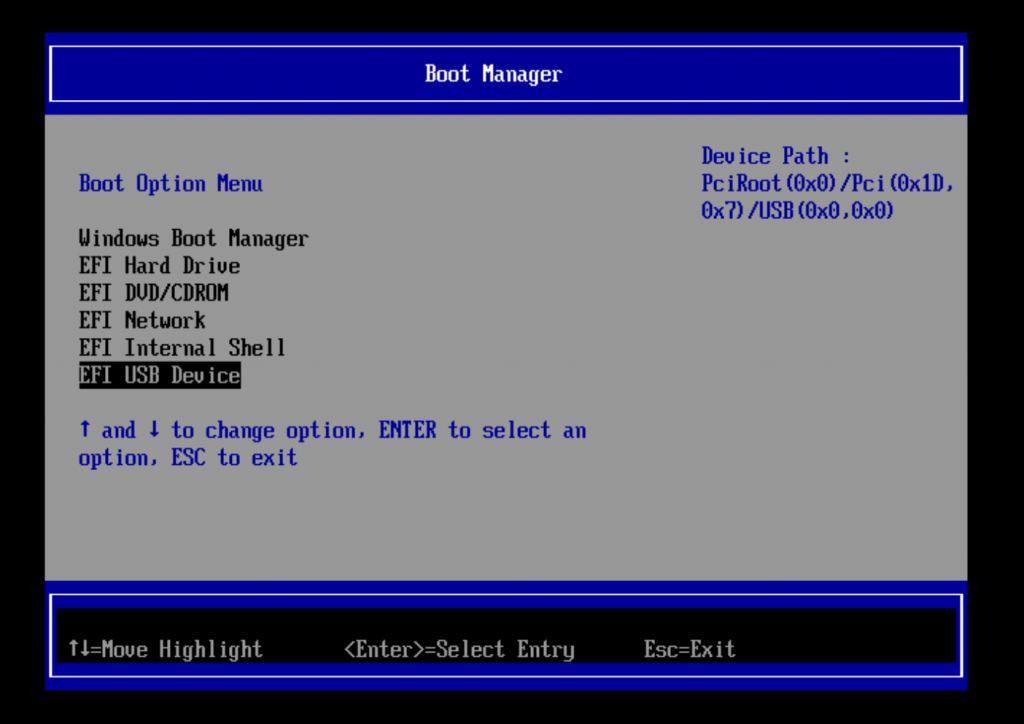
4. Verify the Bootable USB Drive:
- Reboot Your System: Restart your system and enter the BIOS settings.
- Change Boot Order: Configure the boot order to prioritize the USB drive.
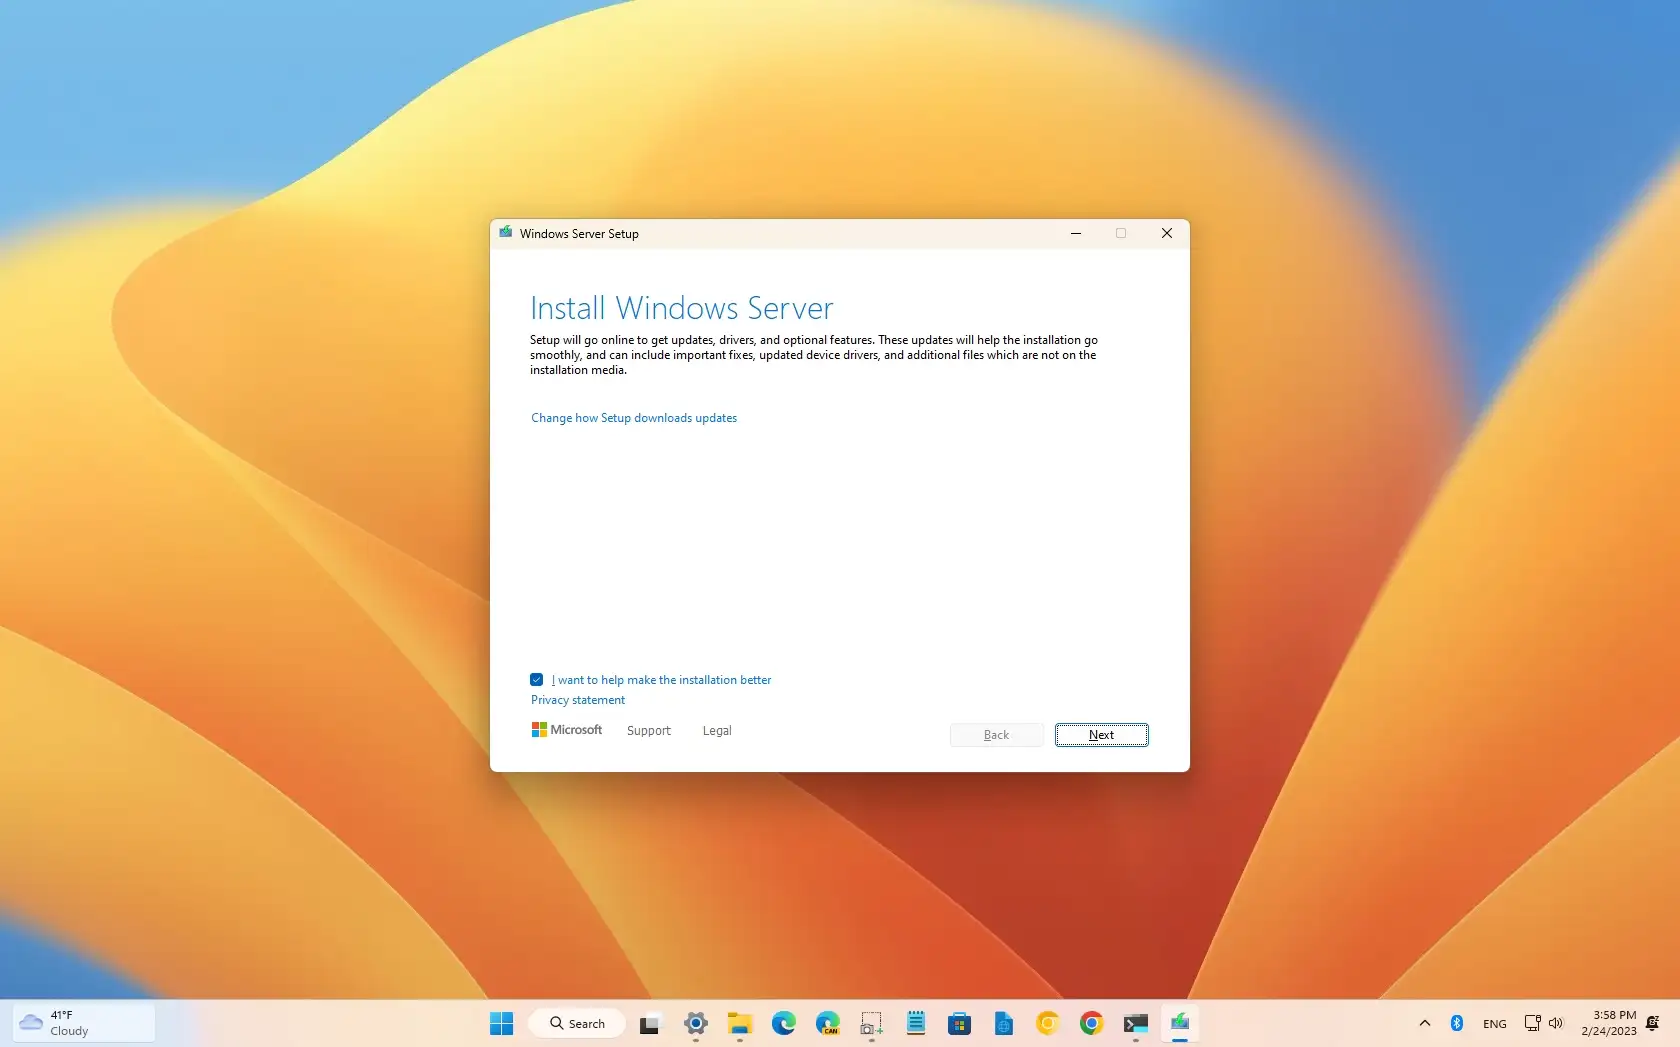
- Test the Boot Process: Ensure the system boots from the USB drive and displays the Windows Server installation screen.
FAQs:
Q: What if the USB drive is not recognized during the boot process?
A: Ensure that the USB drive is properly connected and that the BIOS settings are configured to boot from the USB drive. Check the USB drive for physical damage and try using a different USB port.
Q: What are the minimum system requirements for installing Windows Server?
A: Refer to the official Microsoft documentation for specific system requirements based on the chosen Windows Server edition.
Q: Can I use a USB drive with a different file system?
A: While some tools might support other file systems, it is recommended to use NTFS for compatibility with Windows Server.
Tips:
- Use a High-Quality USB Drive: Choose a reliable USB drive with a sufficient capacity to avoid issues during the installation process.
- Check for Updates: Ensure that the chosen tool and the Windows Server ISO file are up to date.
- Verify the Integrity of the ISO File: After downloading the ISO file, use a checksum tool to verify its integrity.
- Backup Your Data: Before installing Windows Server, back up all important data on the target system to prevent data loss.
Conclusion:
Creating a bootable USB drive for Windows Server is a fundamental step in server deployments. By following the outlined steps and using appropriate tools, you can successfully create a bootable USB drive that allows for a seamless and efficient installation process. Remember to always prioritize data backup and system integrity before proceeding with any installation process.


Closure
Thus, we hope this article has provided valuable insights into Creating a Bootable USB Drive for Windows Server: A Comprehensive Guide. We appreciate your attention to our article. See you in our next article!