Creating A Bootable Windows Server Installation USB Drive Using Rufus
Creating a Bootable Windows Server Installation USB Drive Using Rufus
Related Articles: Creating a Bootable Windows Server Installation USB Drive Using Rufus
Introduction
With great pleasure, we will explore the intriguing topic related to Creating a Bootable Windows Server Installation USB Drive Using Rufus. Let’s weave interesting information and offer fresh perspectives to the readers.
Table of Content
- 1 Related Articles: Creating a Bootable Windows Server Installation USB Drive Using Rufus
- 2 Introduction
- 3 Creating a Bootable Windows Server Installation USB Drive Using Rufus
- 3.1 Understanding the Process
- 3.2 Downloading and Installing Rufus
- 3.3 Acquiring the Windows Server ISO File
- 3.4 Formatting the USB Drive
- 3.5 Using Rufus to Create the Bootable Drive
- 3.6 Testing the Bootable Drive
- 3.7 FAQs
- 3.8 Tips
- 3.9 Conclusion
- 4 Closure
Creating a Bootable Windows Server Installation USB Drive Using Rufus
This article explores the process of creating a bootable USB drive containing a Windows Server installation using Rufus, a widely-used and highly effective tool. This method is particularly beneficial for installing or reinstalling Windows Server on a computer without an existing operating system, or for troubleshooting system issues.
Understanding the Process
The process involves several steps:
- Acquiring the necessary tools: This includes a USB flash drive with sufficient storage space (at least 8GB), the Windows Server ISO file, and the Rufus application.
- Preparing the USB drive: This entails formatting the drive to ensure compatibility with the installation process.
- Using Rufus to create the bootable drive: Rufus takes the Windows Server ISO file and transfers it to the USB drive, making it bootable.
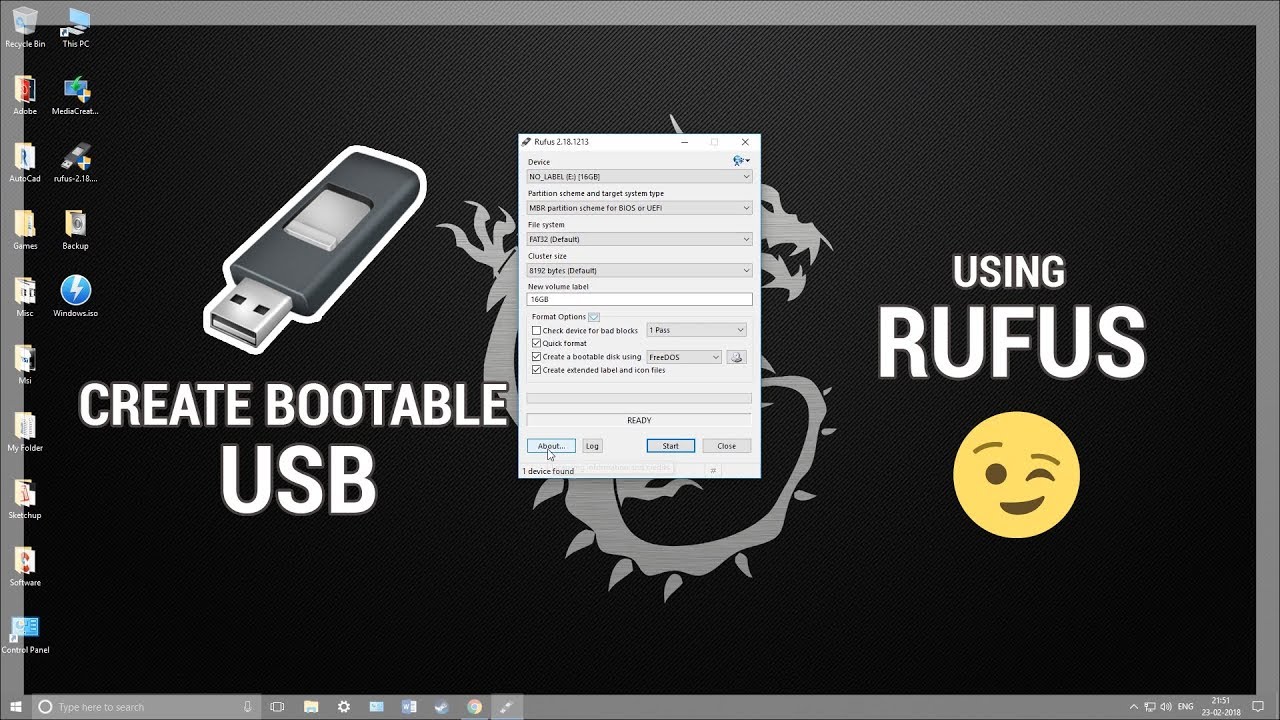
Downloading and Installing Rufus
Rufus is a free and open-source application available for download from the official website https://rufus.ie/. The download process is straightforward and involves selecting the appropriate version for your operating system. Once downloaded, Rufus is a portable application, meaning it doesn’t require installation. Simply extract the downloaded archive and run the executable file.
Acquiring the Windows Server ISO File
The Windows Server ISO file is essential for creating the bootable drive. It can be obtained through various channels:
- Microsoft Volume Licensing Service Center: This is the primary source for organizations with Volume Licensing agreements.
- Microsoft Evaluation Center: This provides free evaluation versions of Windows Server for testing purposes.
- Microsoft Store: This offers retail versions of Windows Server for individual users.
Once you have the ISO file, ensure it is readily accessible for the next steps.
Formatting the USB Drive
Before proceeding, it is crucial to format the USB drive to ensure compatibility with the installation process. This step erases all data on the drive, so it is essential to back up any important files beforehand.
To format the drive:
- Open File Explorer: Navigate to "This PC" or "My Computer."
- Locate the USB drive: Identify the drive letter assigned to your USB drive.
- Right-click the drive and select "Format": This opens the Format window.
- Choose the appropriate file system: For Windows Server, select "NTFS."
- Set the allocation unit size: For optimal performance, select "Default allocation size."
- Check the "Quick Format" option: This speeds up the formatting process.
- Click "Start": This initiates the formatting process.
- Wait for the process to complete: Once finished, the drive is ready for use.
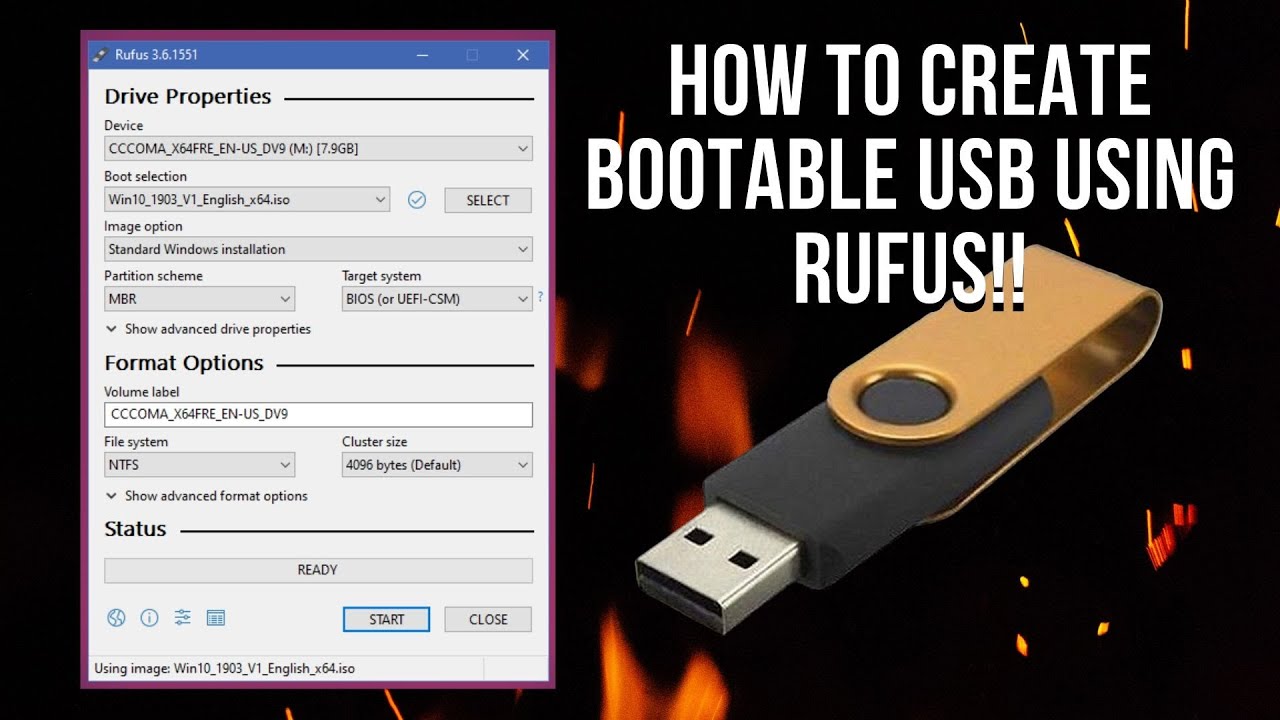
Using Rufus to Create the Bootable Drive
With Rufus and the formatted USB drive ready, follow these steps to create the bootable installation drive:
- Launch Rufus: Open the Rufus application.
- Select the USB drive: In the "Device" dropdown, select the USB drive you wish to use.
- Select "Create a bootable disk using": Choose "ISO Image" from the dropdown.
- Select the ISO file: Click the "SELECT" button and navigate to the location of your Windows Server ISO file.
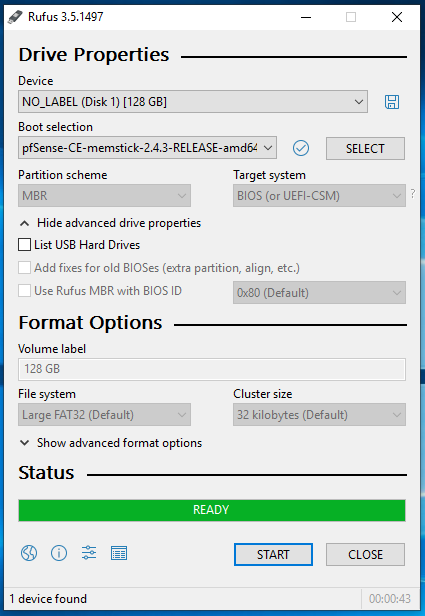
- Choose the partition scheme: Select "GPT" for UEFI systems and "MBR" for legacy BIOS systems.
- Select the target system: Choose "Windows" from the dropdown.
- Leave the other options as default: Unless you have specific requirements, leave the remaining options at their default settings.
- Click "START": This initiates the process of creating the bootable drive.
- Wait for the process to complete: This may take some time depending on the size of the ISO file and the speed of your computer.
Testing the Bootable Drive
Once the process is complete, it is essential to test the bootable drive to ensure it functions correctly. To do this:
- Restart the computer: Power down the computer and restart it.
- Enter the BIOS setup: Press the appropriate key (usually F2, F10, or Del) during the boot process to enter the BIOS setup.
- Set the boot order: Navigate to the boot order settings and prioritize the USB drive.
- Save and exit: Save the changes and exit the BIOS setup.
- Boot from the USB drive: The computer should now boot from the USB drive.
If the computer successfully boots from the USB drive, you have successfully created a bootable Windows Server installation drive.
FAQs
Q: What is the difference between GPT and MBR partition schemes?
A: GPT (GUID Partition Table) is a newer partitioning scheme designed for modern UEFI systems, offering larger disk sizes and better compatibility with newer hardware. MBR (Master Boot Record) is an older scheme used with legacy BIOS systems, limited to smaller disk sizes and less compatibility with newer hardware.
Q: Can I use a different tool to create the bootable drive?
A: Yes, other tools like WinUSB, Universal USB Installer, or the Windows Media Creation Tool can also be used to create a bootable Windows Server installation drive. However, Rufus is a widely recognized and reliable tool for this purpose.
Q: What if I encounter errors during the process?
A: If you encounter errors, ensure the USB drive is properly connected, the ISO file is valid, and the settings in Rufus are correctly configured. Refer to the Rufus documentation or seek assistance from online forums for troubleshooting guidance.
Q: Can I use the same USB drive for multiple installations?
A: Yes, you can reuse the same USB drive for multiple installations. However, it is advisable to format the drive before creating a new bootable drive to ensure a clean installation process.
Q: What are the minimum system requirements for installing Windows Server?
A: Refer to the official Microsoft documentation for the specific system requirements for the version of Windows Server you intend to install. These requirements vary depending on the server edition and intended use.
Tips
- Use a high-quality USB drive: Opt for a USB drive with a reputable brand and a high read/write speed for optimal performance.
- Verify the ISO file integrity: Ensure the downloaded ISO file is not corrupted by checking its checksum or using a hash verification tool.
- Backup important data: Always back up any critical data before formatting the USB drive or installing Windows Server.
- Refer to the official documentation: Consult the official Microsoft documentation for detailed information on Windows Server installation and troubleshooting.
- Seek professional assistance: If you encounter significant difficulties or require specialized assistance, consider contacting a qualified IT professional.
Conclusion
Creating a bootable Windows Server installation drive using Rufus is a straightforward process that enables seamless installation or reinstallation of Windows Server on a computer. This method offers flexibility and convenience for managing server environments, ensuring a smooth and efficient deployment. By understanding the steps involved and following the tips provided, users can effectively create a bootable drive and leverage its functionality for various server-related tasks.


Closure
Thus, we hope this article has provided valuable insights into Creating a Bootable Windows Server Installation USB Drive Using Rufus. We thank you for taking the time to read this article. See you in our next article!